*Last updated: June 2026.

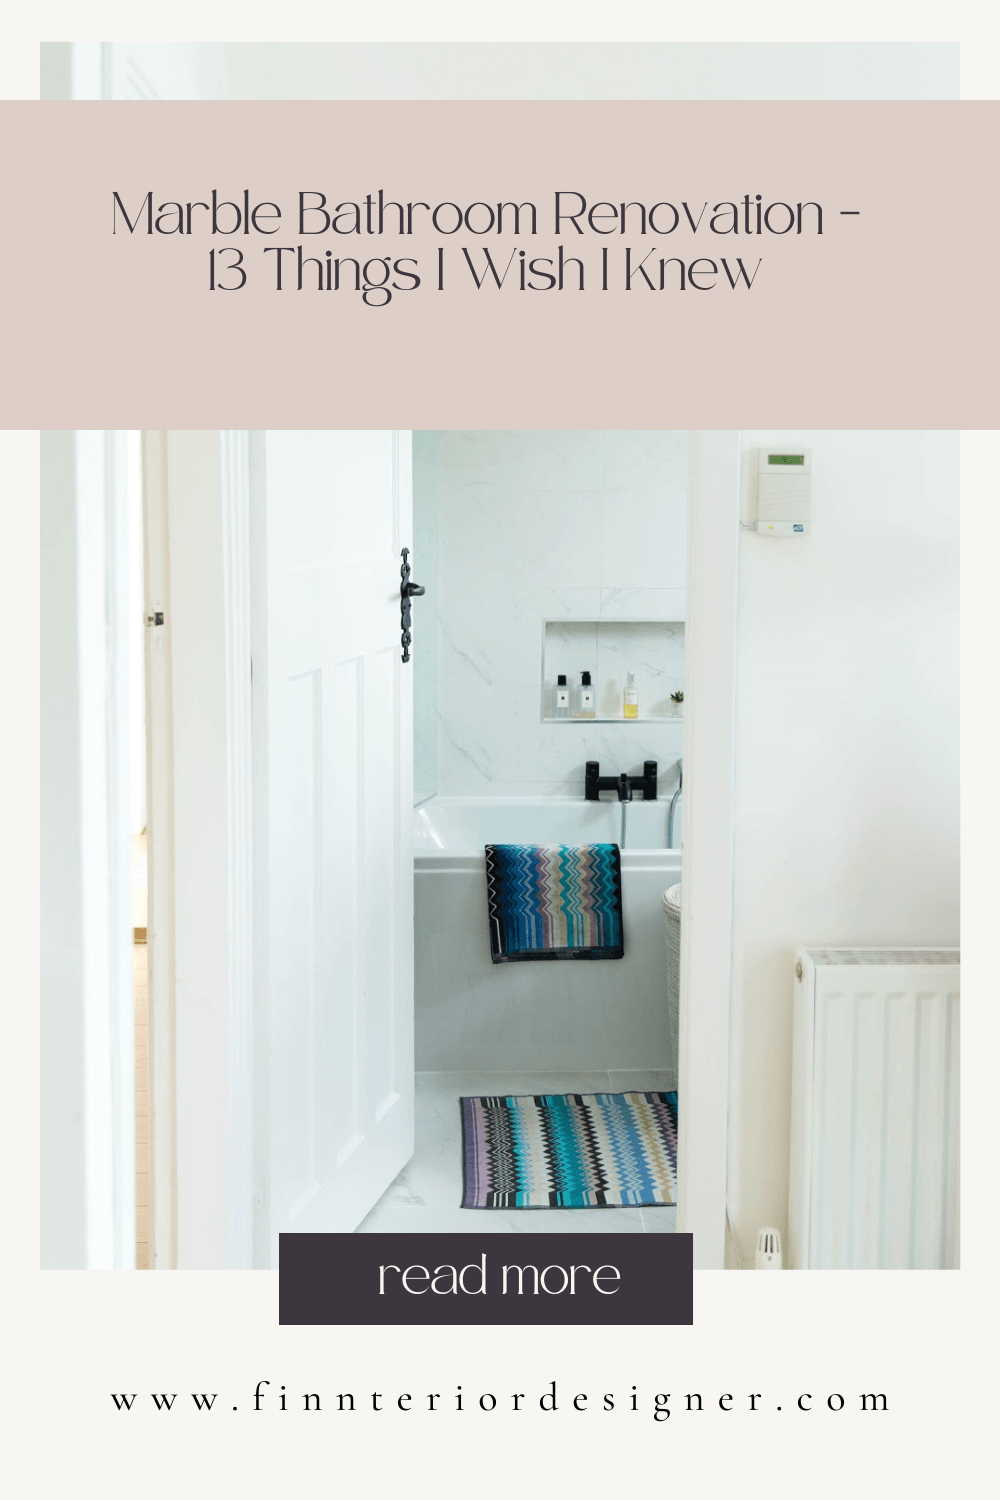
It has been just over a year since we completed our marble bathroom renovation, so I thought now was the perfect time to reflect on everything I learned during the process. This was our first bathroom renovation in this house and also my first time designing a bathroom without professional interior design help. I wanted to keep the space simple, minimal, and timeless, which fits with the rest of our home aesthetic. If you are planning a bathroom renovation, you will likely already know it is one of the more expensive home improvement projects. Kitchens and bathrooms tend to add the most value to a home, but there is a reason they come at a premium.
If you’re looking for bathroom renovation tips, here are some I’ve learned.
1. Do Research (Then Do More Research)
Whether it comes to sourcing the appliances, labour or design layout, research is the key. I’ve spent so many hours googling taps and sinks you wouldn’t believe. Read as many reviews as possible before you buy any products. Check and sign up for the free warranty. Always read the fine print. I really don’t think there’s such a thing as too much research when it comes to bathroom renos.
2. Create Mood Boards
Mood boards are super helpful. You’ll need some help to plan and visualise the space, especially if you’re planning to reshuffle things around. Start with Pinterest by creating a new board that includes all your favourite images (or do it manually using cut outs from magazines). I don’t like to just rely on Pinterest, so I tend to use magazines and interior books as well. Once you start adding different items and elements together (shower head, tap, laundry basket, towels etc) you’ll quickly see whether they’ll work together or not. Don’t forget to use a free software like Sketch or Room Planner to play around with the layout too.
3. Visit Showrooms

Just because you’re doing all the planning and designing yourself, doesn’t mean you shouldn’t seek for professional help. Visit different showrooms to get a better understanding of the materials, appliances and designs you may like. Many retailers offer a free design service without any obligations (like Bath Store), so you get an idea what will work best in the space you’ve got. You don’t have to go ahead with the plan, but it may be worth getting an expert opinion, especially if you’ve never designed a bathroom before.
4. Get at Least 3 Quotes
This is the trickiest part in my opinion. It’s so hard to find skilled, reliable labour these days. Ideally, you should get at least 3 quotes before you go ahead. If you’ve chosen a high street chain, you’ll pay extra for the name (and this part won’t apply to you then). But hiring an independent fitter can be risky. You should get at least 5 references from them and speak to their previous clients (or if possible, go and see the work they’ve done). I really wish I had asked more questions at this point. One of the most important questions is whether they would use the same tradesman again. If the answer is maybe, that is not a good sign. Listen to your gut feeling and don’t go ahead with anyone with whom you are not 100% happy.
5. Have Everything In Writing
Everything you agree on (layout, appliances, how long it will take, etc.) should be in writing. I refused to agree on anything over the phone with our fitter (if there’s a dispute, I have no actual proof). So keep it all in emails if possible. You should also sign a contract in the beginning which includes the final price and all the finer details. I didn’t do this and it ended up costing me extra.
6. Shop Around for Materials and Appliances
You can either source the materials yourself or get your fitter to do it for you. I sourced all the appliances myself but our fitter bought the tiles (he got a trade discount so it made sense). Make sure that you don’t buy any products way in advance or check with your fitter first whether they’ll work or not and definitely check that the products are not damaged immediately when they arrive (most companies are flexible about this but it’s better to be 100% sure). If you’re not sourcing the materials yourself, make sure you see them first and know what they are (ceramic, porcelain etc). Make sure you know the pros and cons of different materials before buying them as well.
7. Don’t Choose Cheap Tiles
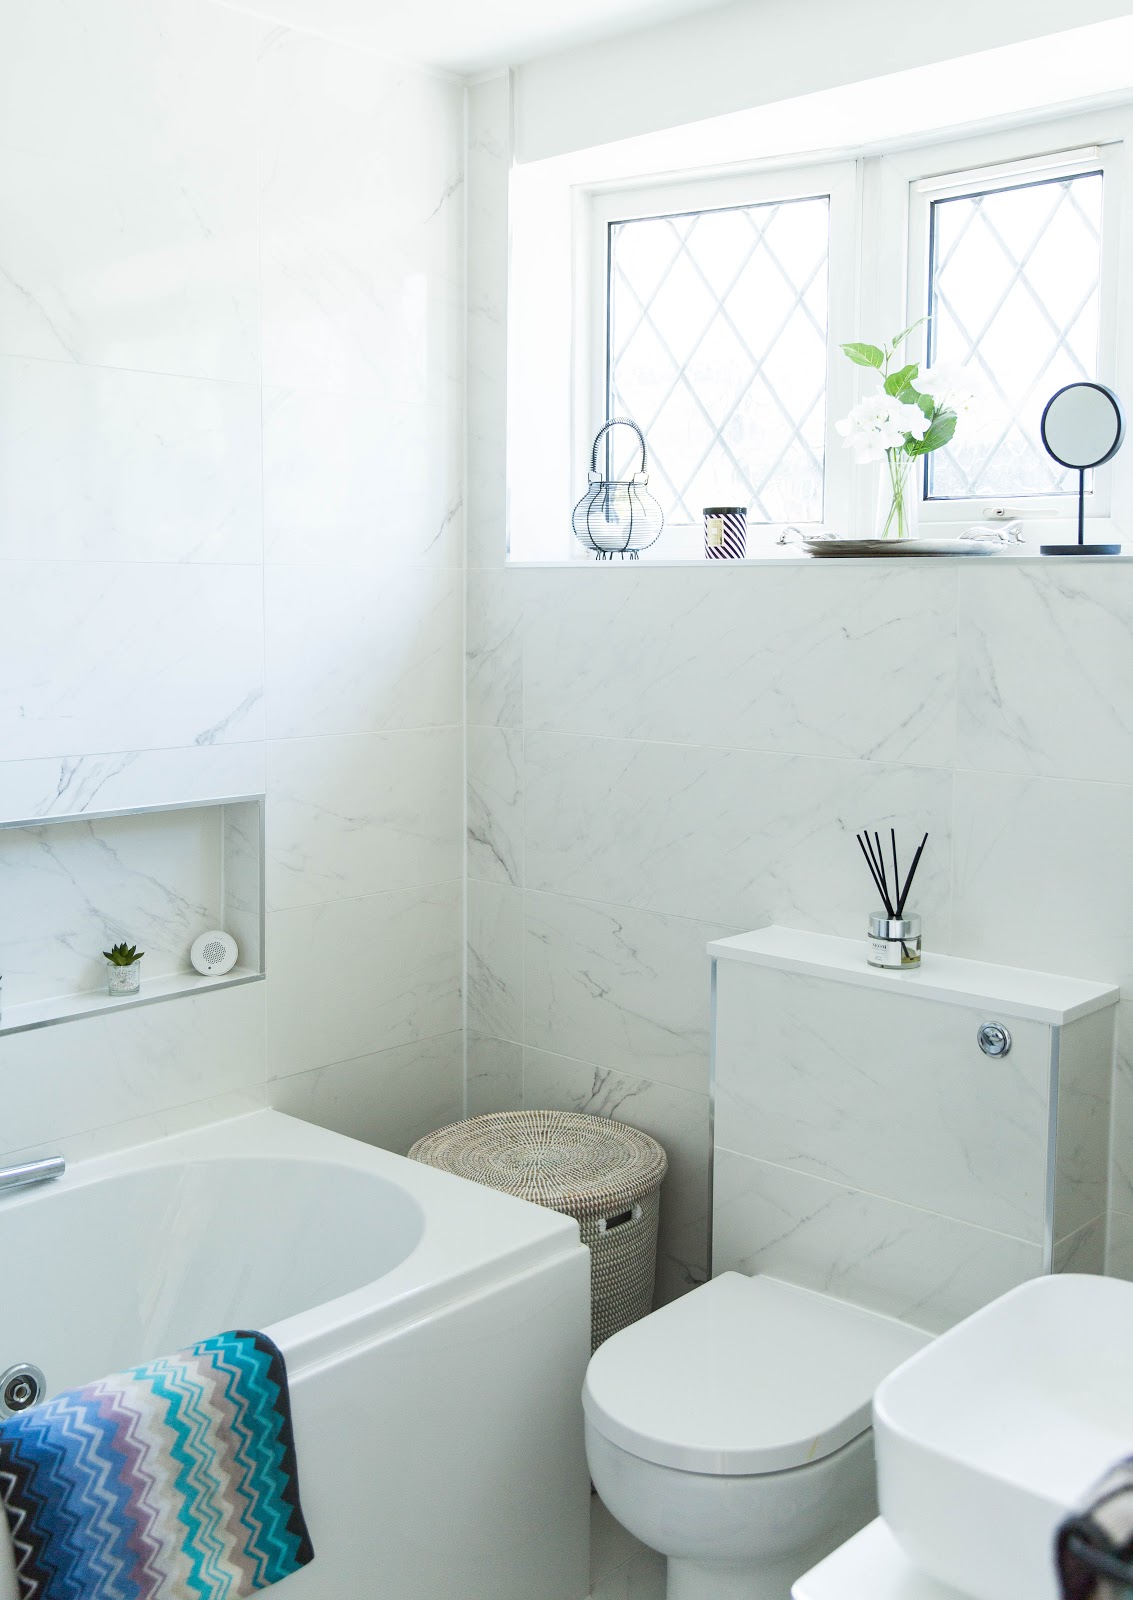
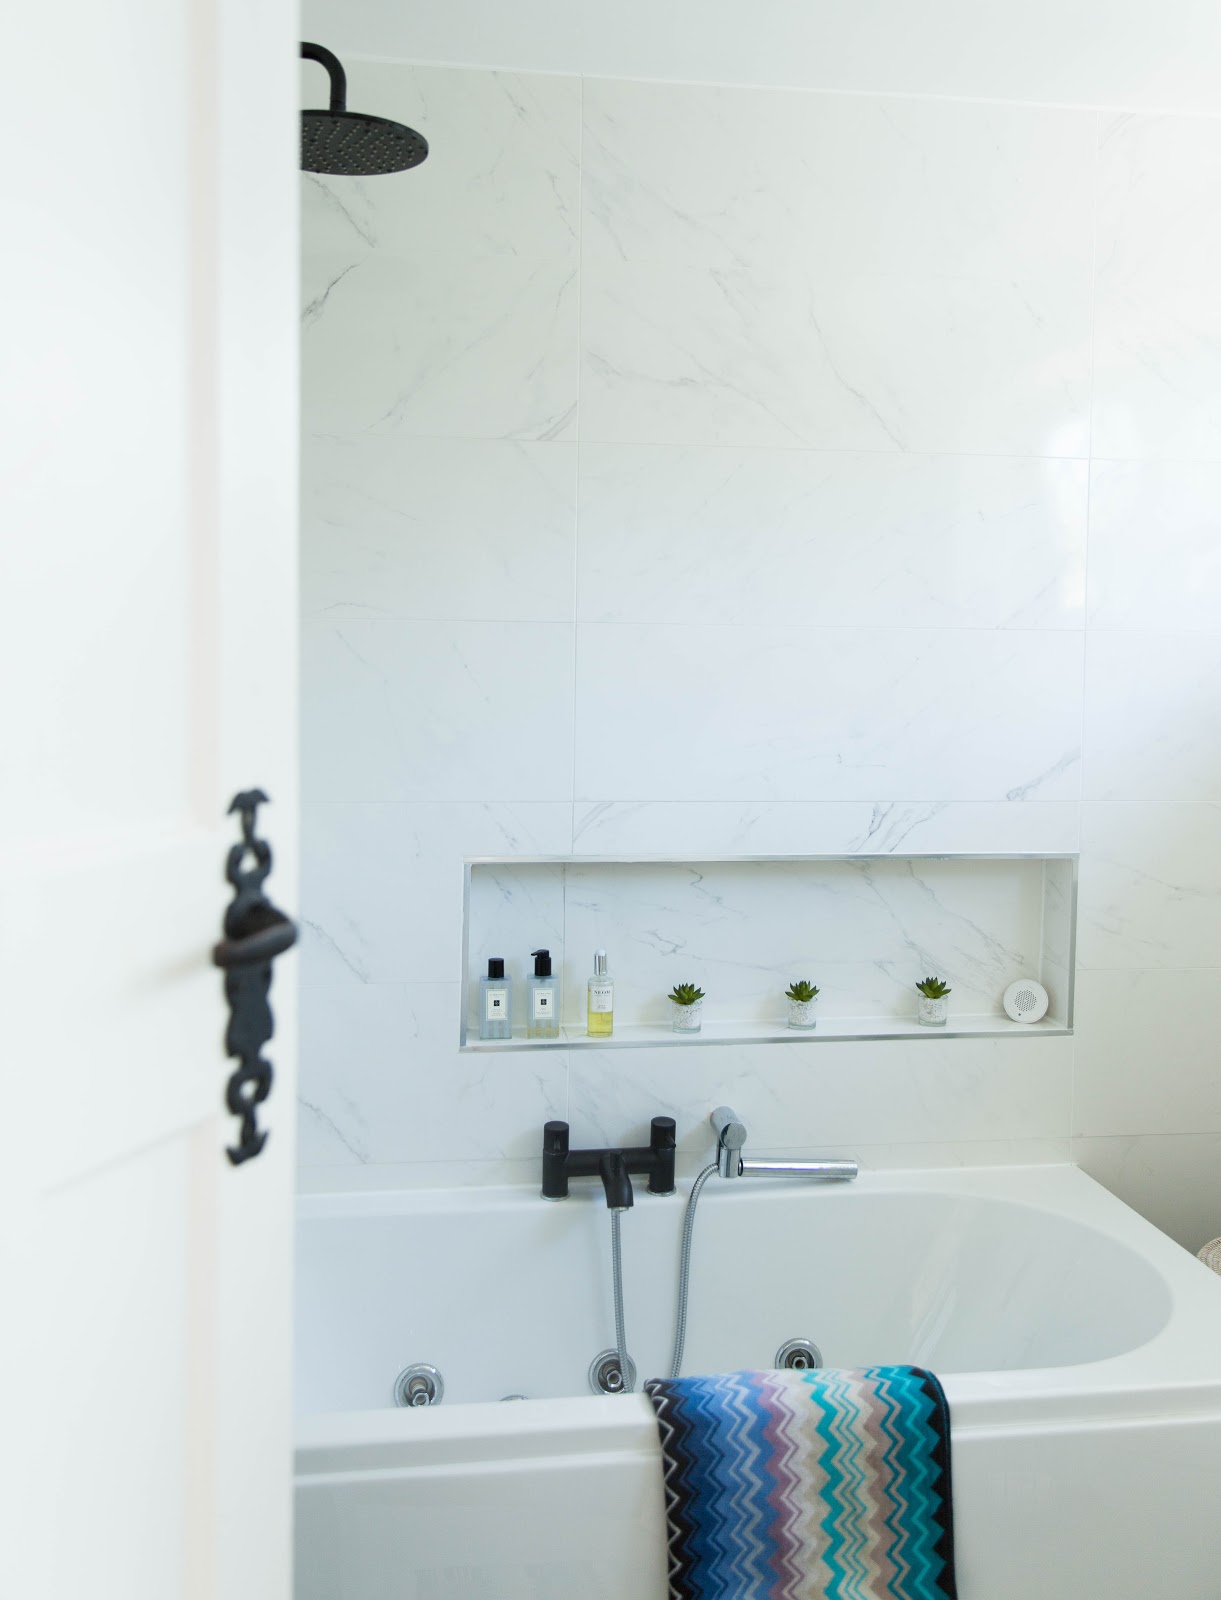
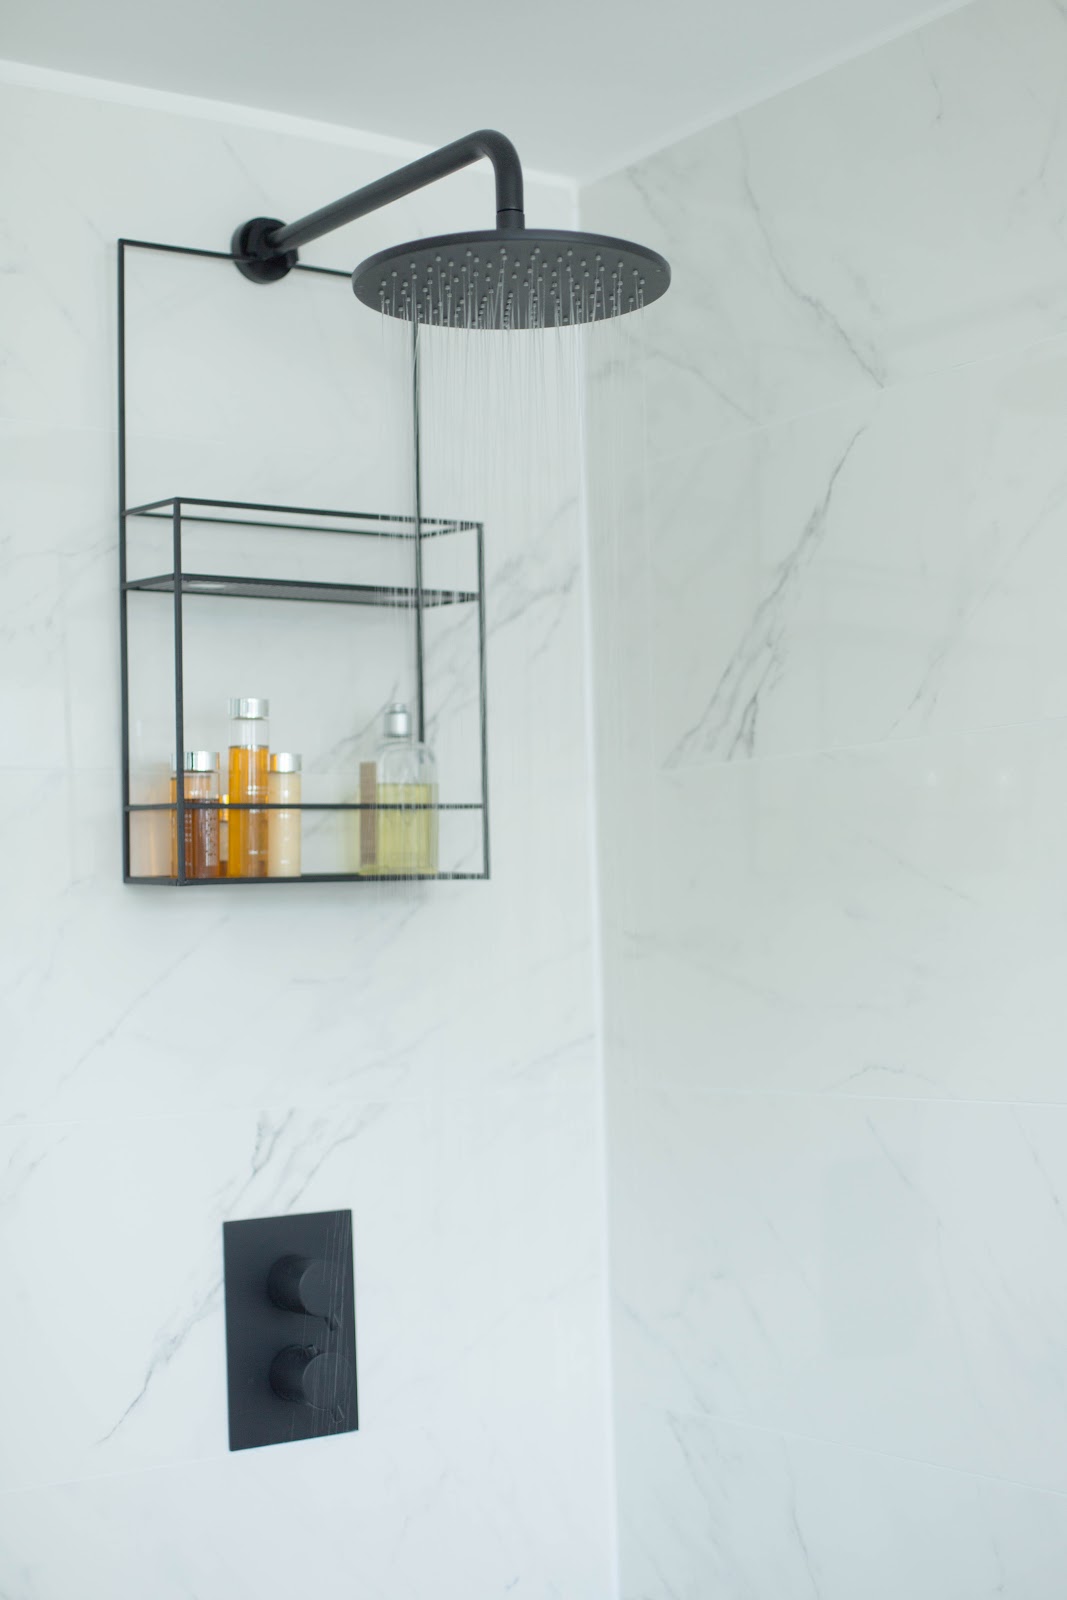
I know it can be tempting to go with the cheapest tiles on offer but in my experience they can really cheapen the rest of your bathroom. I let our fitter source the tiles as I knew they’d be far superior to everything else I’ve seen. They weren’t the cheapest but I did trust his opinion on this. I saw samples before buying them too. Our tiles were by an Italian supplier called Pasta Blanca. I chose ceramic for the walls and porcelain for the floor (porcelain is a bit more durable).
8. Stay Involved
Even if you trust your fitter 100%, you should be checking the progress at least daily. At the end of the day, you need to be happy with the bathroom and live with it. I have found that even the best fitters take short cuts and tend to make things a little ‘easier’ for them given the chance. If you’re a perfectionist like me, make sure that your bathroom fitter knows it. They should be asking your opinion about everything; where do you want the sink, toilet, shower head, shelving etc. There will be some restrictions due to drainage and product manufacturing guidelines, but your fitter will probably stick to industry standards in most cases to keep things simple (unless you advice him otherwise).
9. Listen to Your Builder, But Trust Your Vision
A good bathroom fitter will be able to tell you whether something will work or not. They have the experience, so you might as well take advantage of it. Having said that I’ve found they don’t actually know everything. When it comes to aesthetics, I trust myself more.
10. Buy Extra Tiles
Hopefully you won’t ever need to repair your brand new bathroom, but it’s always a good idea to buy few spare tiles (5-10% extra) in case something does go wrong. Tiles can break, although this is rare unless they’ve been fitted incorrectly. Sometimes you’ll need to remove existing tiling to gain access, especially with concealed showers, which is why it’s a good idea to hold onto few spare tiles.
11. Get a Grout Reviver Pen
If you’re planning to have white grout, you’ll need a grout revival pen. I wish I had bought one way sooner. This one from Amazon is brilliant. I find the floor tiles do need touch ups every now and then. The grout around the wall tiles still looks pristine though (make sure your fitter uses anti-mould grout). And if you need any tips on repairing grout, check out my blog post here.
12. Consider a Water Softener
If you live in a hardwater area, as we do, it’s worth considering getting a water softener. It’s probably my biggest regret that we didn’t get one. We’re planning to move again in the next few years, so I thought there was no point in getting one. I totally underestimated how quickly hard water breaks the taps. We’ve had problems in the past with leaking taps, so I should have guessed, really. Technically, it’s not too late yet, but you should really do these things before you start the remodel. I can already see the calcium build-up on our mixer tap and it’s hard to remove the stains without abrasives (although I’ve managed to do it by gently using a Brillo pad). Our bathroom mixer tap has been leaking occasionally, so we’ve had a plumber in and the valve needs changing. We’ve ordered the part and hopefully it will arrive next week. We had the same issue with our kitchen tap a while ago, so you can be sure that a water softener will be on my shopping list for the next house.
13. Get Plumbing Insurance
If you live in an old house (and you’re not a plumber), this will save you money in the long run. We currently pay £12 a year for plumbing insurance with Home Serve and have used them already twice this year (the annual fee includes 4 free visits). Every year they’ll try to up their fee but it’s been very negotiable so far. Last year, we wanted to cancel and they came back with the same offer, so it’s been worth having the insurance. Just make sure you read your contract and that you understand that every year the fee will increase (unless you contact them).
I learnt so much from our bathroom renovation that I can’t say I have any regrets at all. I still love our marble bathroom, although it was pretty stressful at times (especially when dealing with our bathroom fitter).
I hope you’ve found this post useful. If you have any questions/feedback/comments, please leave a note below!


Hi! where did you find this awesome shower caddy? So cool!
Hi Clare, it's the Umbra Cubico shower caddy. I bought it on Amazon 🙂 Pia