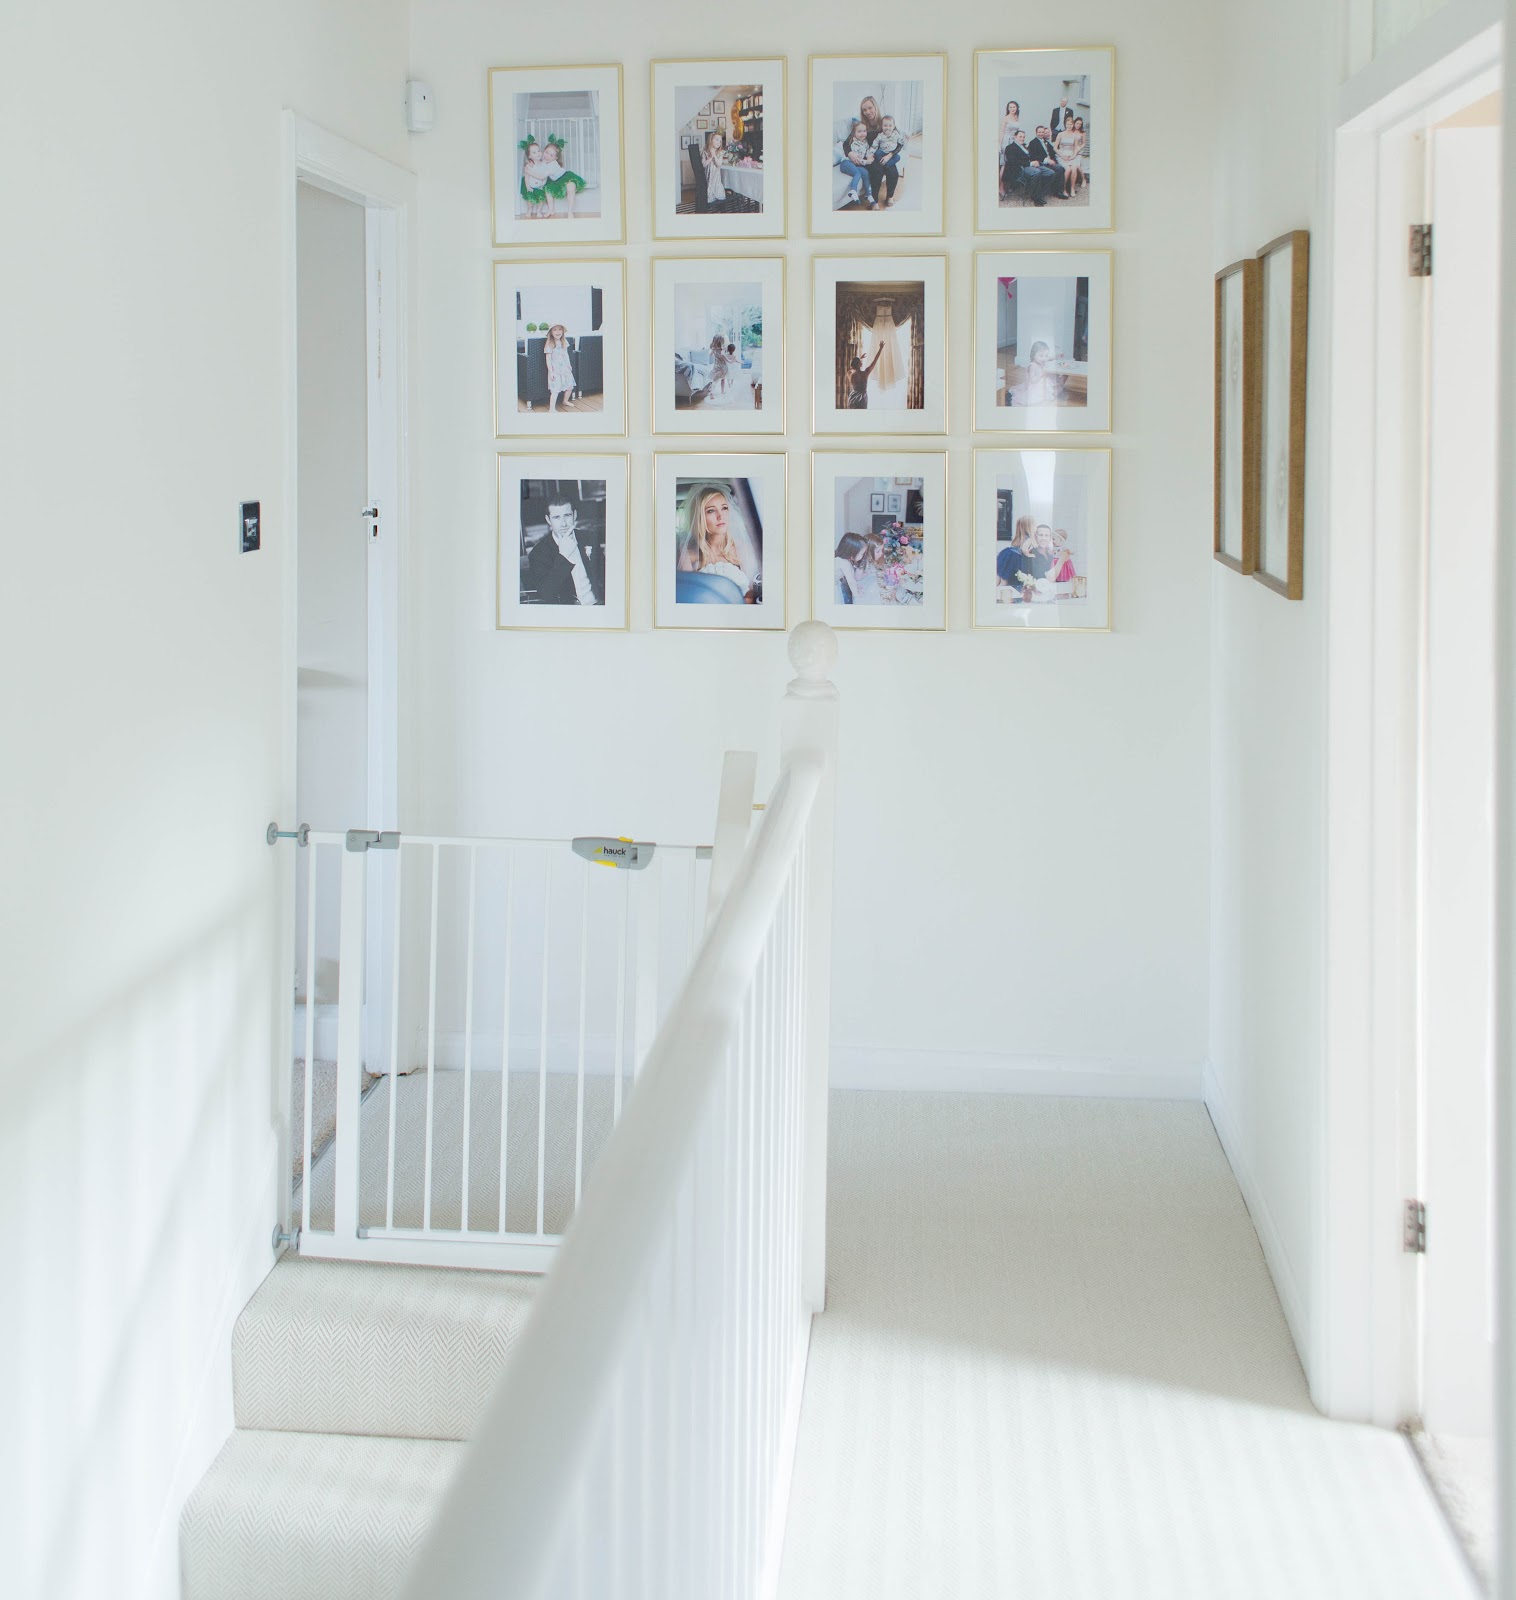
I guess it’s safe to say I love gallery walls since I just added the third gallery wall to our house few months ago. They are quite easy to put together, although I do find symmetrical gallery walls more time consuming than asymmetrical ones. If you’re planning to put together a nice and organised symmetrical gallery wall, you need take a few things into consideration before you start banging nails on those walls (I didn’t use nails on mine and will share my ‘nail free’ method with you shortly).
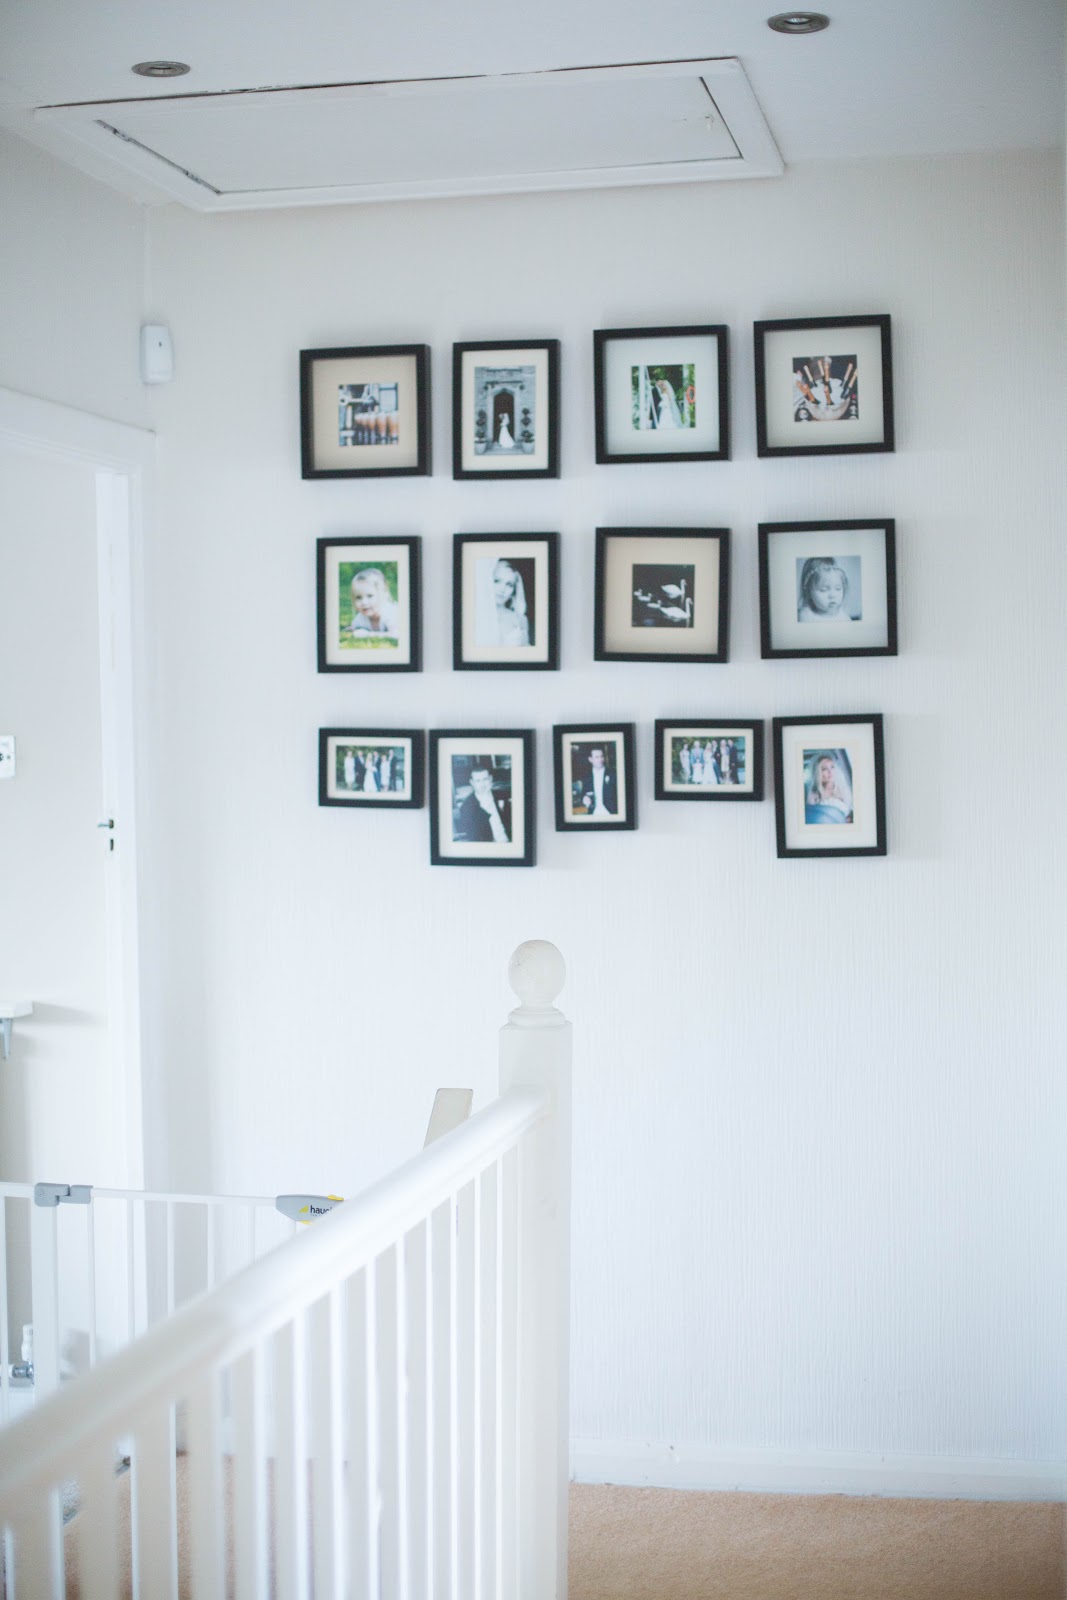
So, few months ago I decided to add the third gallery wall to our family home. You may remember our landing make-over earlier this year, so it kind of made sense to redo our old (6 years old to be exact) gallery wall at the same time. I had previously used smaller frames from Ikea and they just looked too small in that big space and I had also gone off the walnut coloured frames too. If you don’t believe how hideous it used to look, here’s the proof.. The following picture still makes me cringe.. What was I thinking?!
The easiest part was to choose the right photos for the frames. You could also use art prints but I wanted this gallery wall to be filled with our family photos. I chose large frames (30×40 cm) so that the gallery wall would really showcase all the photos and create more impact. I also made sure that the colours and the themes in the photos complemented each other. It’s not a must but if you’re going for coloured photos it helps to be at least somewhat consistent with the colours.
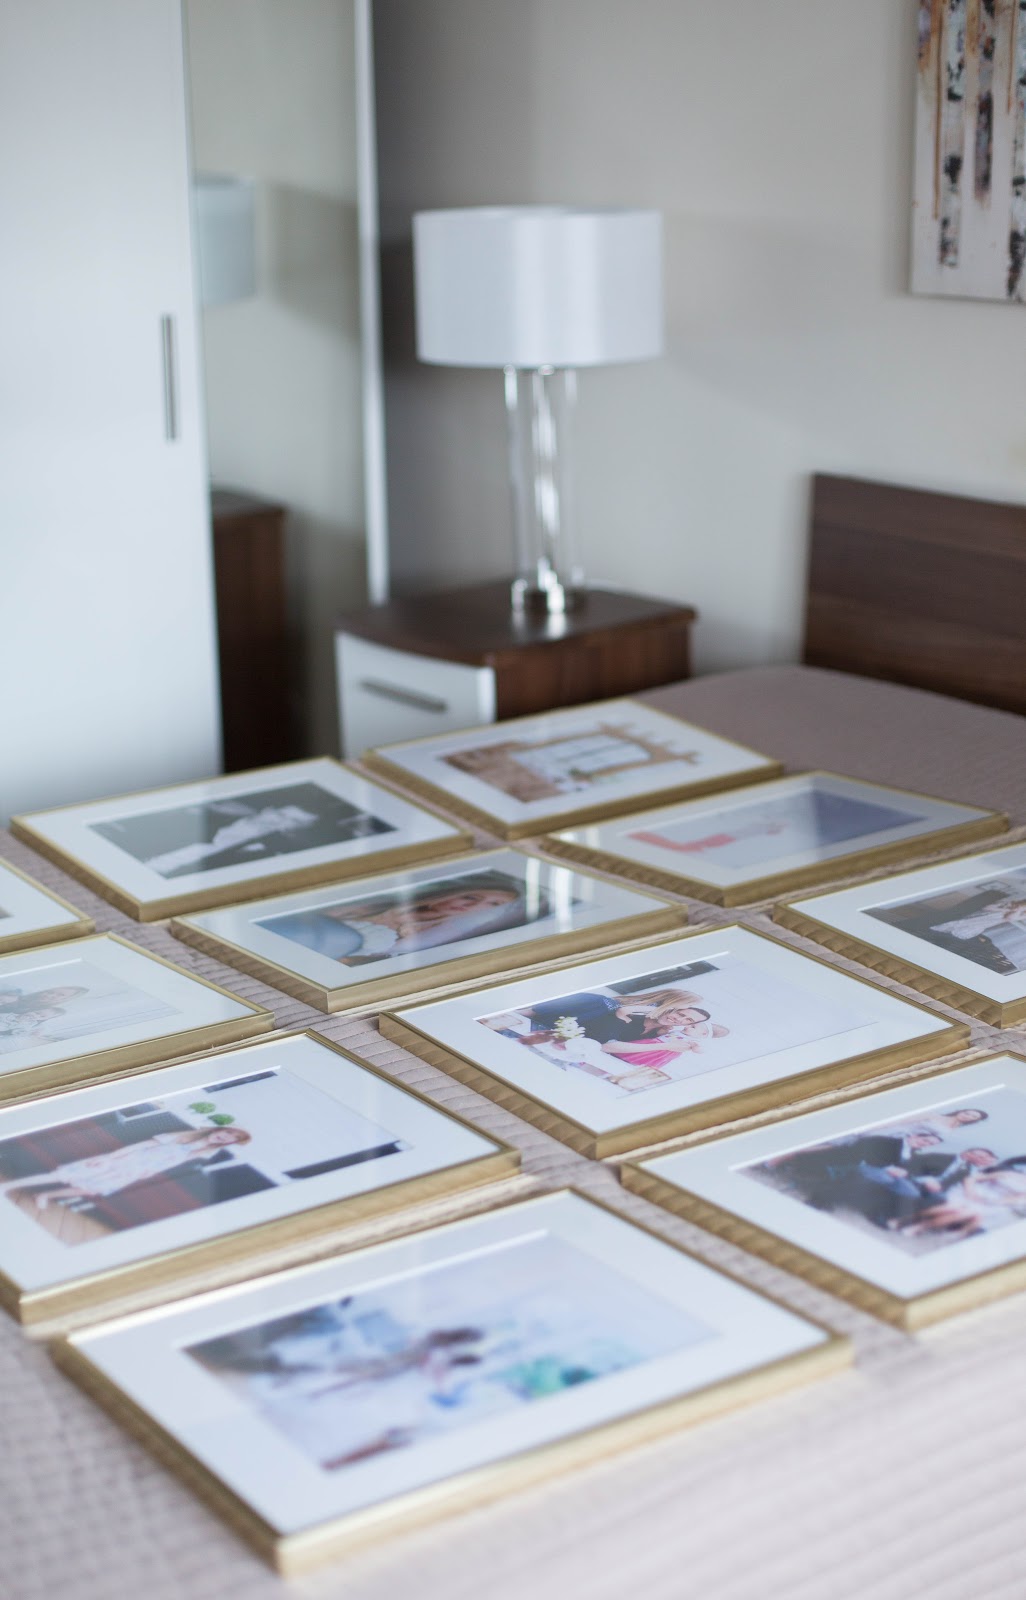
I placed all the frames on my bed before attempting to hang them up. I wanted to make sure the order was right and of course I ended up changing it quite a few times. Once I was happy with the layout, I taped A4 size paper cutouts onto the wall where the frames were going to go. It’s really important to visualise what the gallery wall is going to look like before actually attempting to hang anything up. Then I made sure the gaps between the frames were more or less the same so it wouldn’t look unbalanced. There are many different ways to make sure that your photos are level. The easiest is probably to use a string and mark the spots with a pencil. You’ll still need to check all the gaps with a measurement tape though. I realised half way through that our wall wasn’t straight (don’t you just love old houses!) and had to redo some of the nails. Once all the measurements were (more or less..) the same and it looked good, I was happy to start putting those ‘faux’ nails in. I’m sure there is a more mathematical way to do all this but I was simply running out of time and had to get my gallery wall up very quickly. I remember finishing my gallery wall pretty late at night and had guests coming in the next day, so I really didn’t have a lot of time to play around with them.

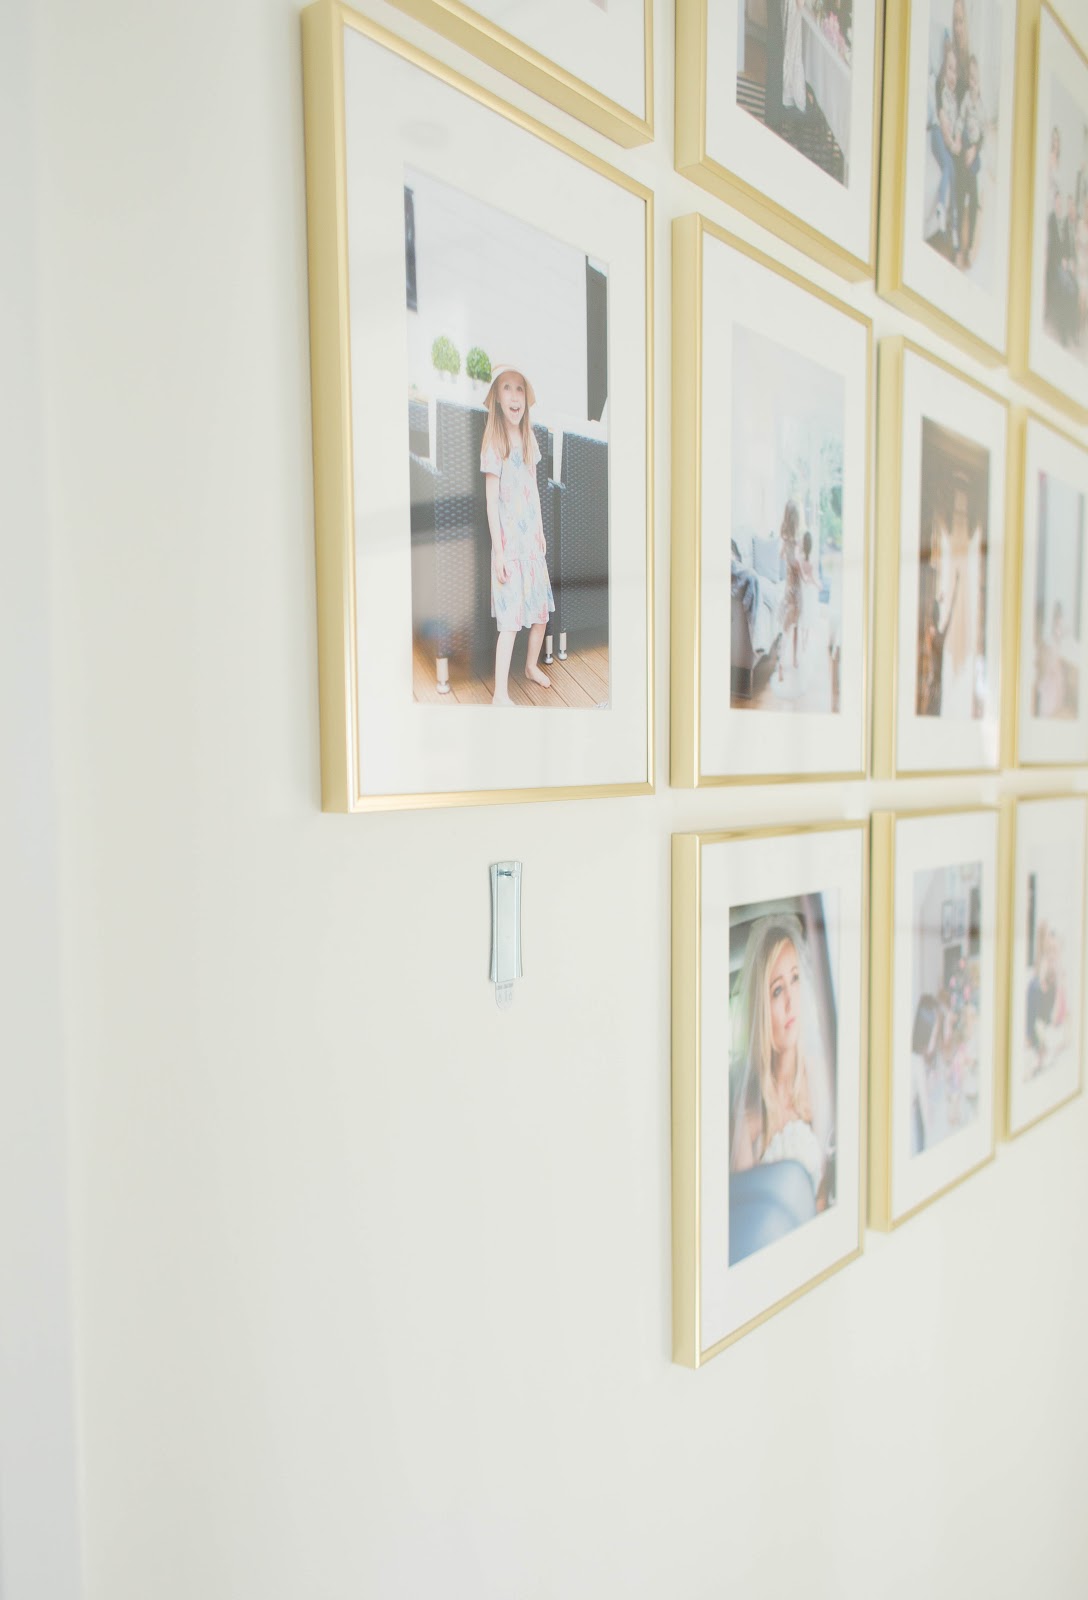
Like I said, this time I wanted to use extra large frames to create more impact. I got my frames from Desenio and ended up buying the passe-partout as well. The gold frames were my biggest expense but I think they were totally worth it. Luckily I managed to print the photos myself, so at least I didn’t have to pay for that. I printed out regular A4 size photos and they fit the frames perfectly. The frames are plastic by the way which is not really that obvious by looking at them. However, I wanted them to be shatter proof, especially since we have young children. Also, you have no idea how many times people walk past them and knock them over.


I didn’t want to use old fashioned nails on our newly painted walls, so I opted for command sticky nails in stead. They are the perfect damage-free solution when you don’t want to be using traditional nails. I think they work with most photo frames and were an absolute godsend for us. Trusts me replastering old walls isn’t fun and if you want your nails to stay in place you need an electric drill, not a hammer. I had to readjust the nails a few times but once they were all more or less level I was pretty happy with them.

Below you can see our bedroom gallery wall which must be at least 3 years old now. I need to put up some more recent photos soon. I kind of think having two symmetrical gallery walls next to each other is pretty genius.

So there you have it. Our third gallery wall has transformed our landing and it definitely catches your eye as you walk past it. I like both asymmetrical and symmetrical gallery walls and would use them in different rooms in the house. If you’re going for an organised, zen look, symmetry is your friend. Asymmetrical walls, like in our dining room, create much more interest and can be very captivating which is why I think they are great in common areas, like halls and living rooms. You can also have a bit more fun with them and include different shapes, materials and colours. Most importantly, use photos and art work that you really love. You’ll find yourself admiring the gallery wall a lot more if it has photos or art that means a lot to you.
What’s your preference? Asymmetrical or symmetrical, or both?
