I am a big fan of coasters and as far as I’m concerned you can never have too many in the house. They are great when you want to prevent scratches, especially since our dining room table is glass, and I love using them when entertaining. I have thought about getting personalised coasters or placemats before but never actually got around to it.
Snapfish UK are a leading online digital photo printing service and I have used their services for our Christmas cards in the past. I’ve always had a great experience dealing with their customer service as well so I was thrilled to be asked to work with them recently to create some unique DIY coasters.
Personalised coasters make great gifts and keepsakes as you all know. Now, some of you might consider photo coasters a little old fashioned or even ‘tacky’ but they don’t have to be. Personalised means that you can print anything on them; funny quotes, food photography, polaroid style photos etc. They can feature so much more than just family photos, all you need to do is use your imagination and get creative.
Photography is a passion of mine so I knew straight away I’d like to use some of my own photos for this project. I could have of course used those thousands and thousands of pictures I have taken of my daughter but I wanted the coasters to be a little different. I felt they should reflect my own personality and style and be a pleasure to use of course. My other passion is interiors so I decided to feature some of my favourite tabletop pictures on them.
1) Choose your pictures
I started going through my old photos and had some serious trouble deciding what pictures to choose. There are so many interior shots that I have taken but I wanted all of them to belong to the same theme, like they would be part of a proper set. In the end, I chose photos with strong composition featuring some of my favourite glassware and accessories. Also, I cannot think of anything more timeless than black and white photography so it was pretty easy to stick to a monochrome theme from the beginning.
2) Edit & Photoshop
Now, this is the fun part. I used Lightroom and Adobe Photoshop Elements to edit my photos but there are plenty of free online editing softwares available as well. I like to do basic tweaks in Lightroom and then the more serious (I mean fun) stuff in Photoshop. You can actually do a bit of editing on the Snapfish website but it’s mainly for cropping and auto correct. You won’t have access to any filters, so if you want to get really creative you will need another software.
First I converted my photos to black and white and then I started playing around with filters in Photoshop to see which ones work best for each photo. In the end, I decided to use maximum two filters as I wanted all the coasters to look fairly similar. Cutout and Poster Edges were my favourites since they make the photos look as if they were painted.
Before!

After! (using Poster Edges Filter)

The great thing about filters is that you can get as creative as you like. You can instantly make a dull image interesting and people and architecture work as well as close up shots. I also noticed that they can really improve the images and hide imperfections very well. If you are using Instagram filters, remember that the photo quality is lower and once you apply them it reduced the quality even further.
3) Order on Snapfish
Ordering via the website is very quick and easy. You login, upload your photos and then choose what product you wish to purchase. I find it easy to navigate, although I prefer to use the search box rather than the drop down option. You can make some last minute changes before you hit submit and even after you have submitted your order. I also had to go back to resize a few photos as they would have been too cropped on the coasters otherwise. If for some reason your photo resolution is not sufficient, an orange triangle will pop up as a warning. If this happens, it’s better to choose another photo so you won’t be disappointed with the quality of the print.
There’s one thing I would like to improve though. It would be nice to be able to zoom in the coasters before purchasing them. The smaller image is good enough to view the photos but zooming in would give you a even more realistic idea of what they will look like.
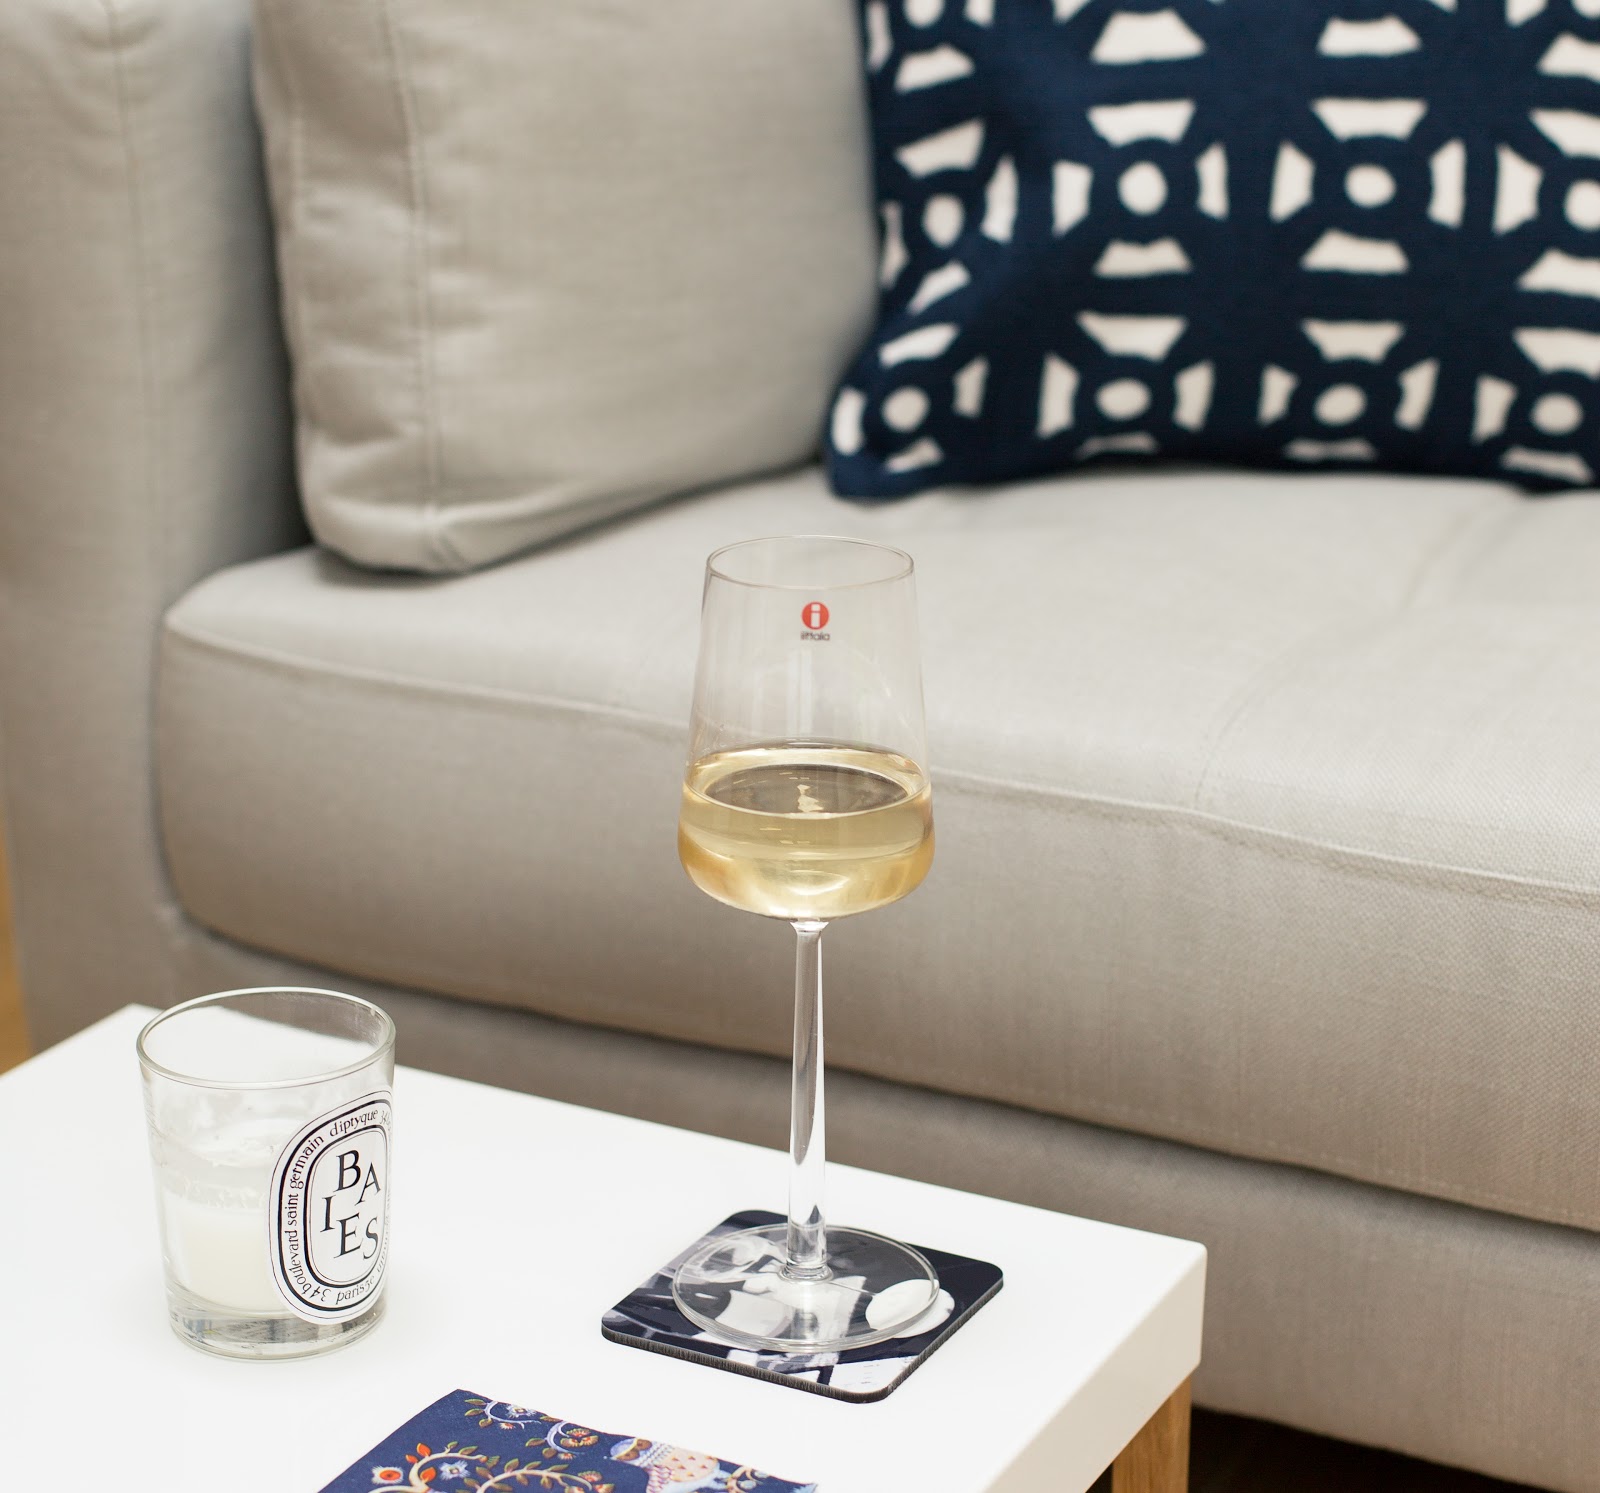
My coasters arrived within 3 working days and I am thrilled with them. I cannot quite decide which one is my favourite as I love them all! They have heat resistant, non-slip backing and measure 4″x4″ x 1/8″. The quality looks excellent and the glossy surface works very well with black and white images. I love the contemporary look and I’m sure we’ll get plenty of use out of them.
What do you think?


I have taken my photos with a SLR camera but a fancy camera is not a requirement for this project. It’s a lot more important to be creative and have a good eye. I have seen some really funny coasters that would make great statement pieces for a dinner party which is something I might do next.
* Although this is a sponsored post, all thoughts and opinions are my own.
